All About Plants Science Unit - FREE ACTIVITY


PRIMARY SCIENCE UNIT 3 - PLANTS
Unit 3 in my primary science series is here! We are diving in and learning about plants - their lifecycle, how they make food, the parts of a plant, why animals and humans need plants, plus so much more.
I am also sharing a FREE lesson with you right here on this blog post.
You can do this unit anytime, but of course spring time is perfect.
The children absolutely love this unit, because we do so many hands-on activities and experiments, plus they naturally love learning about plants and make so many connections throughout the unit.
Let’s get started!

This page contains affiliate links. Read Full Disclosure
All the lessons are planned for you, but you can use all the printables and activities can be used as you wish. This unit works perfectly for classroom instruction, homeschooling or even virtual teaching.

You and your students will love how fun and engaging it is to learn all about plants including their lifecycle, what they need to grow, how they make food, completing two hands on experiments and more!
Lesson #1 Alive Vs. Not Alive
I always start by building background knowledge and activating their prior knowledge.
What do students already know about plants and what it means to be alive?
This beautiful slideshow walks students through what it means to be alive, and examples of things that are alive and things that are not alive.

Students make so many connections watching this slideshow and love to share what they already know.

I show students these posters that have examples and brief definitions of what it means to be alive versus not alive.
Then we sort the picture cards shown below.
They work perfectly in a pocket chart and can be modeled whole group first and then put in a center for children to complete independently.


After sorting the picture cards, we use the cut and paste activity to check for understanding. They simply cut and paste the pictures under the correct heading.
Lesson #2 What is botany, and why is it important?
Now that we have learned about and have an understanding of what it means to be alive, we are ready to dive into learning about plants! I start lesson two with this beautiful slideshow that introduces the word botany.

We go through the slideshow, discussing each slide, the vocabulary and pictures. We discuss how all living things, even animals who only meat eat, truly depend on plants. The students are so engaged and this leads to so many good conversations starters.
Here is a quick video to build background about plants. It is a great overview of what we all be covering in this unit and it packed full of information. I show it now, and come back and show it again later in the unit.
I pass out their All About Botany Books and we complete the very first page together. It already has the sentence starter so students complete the sentence and then can color the picture.

I staple their books before the unit starts because it makes it super easy to have all their recording pages in one book.

You also don’t have to make books. If you prefer you can simply pass out the activities for each lesson. Each page is labeled with the lesson number to make it easy to stay organized.
Lesson #3 Part of a plant
In this lesson, we learn about the different parts of a plant. There are multiple activities included, and you can choose to use one or all of them. I find that the repeated exposure to the new vocabulary in different formats really helps cement the information.

After showing them the anchor chart of the plant and the definitions (shown above) you can show this video that gives a brief overview to the parts of a basic plant.
I start with the cut and paste activity to practice labeling the parts of a plant.
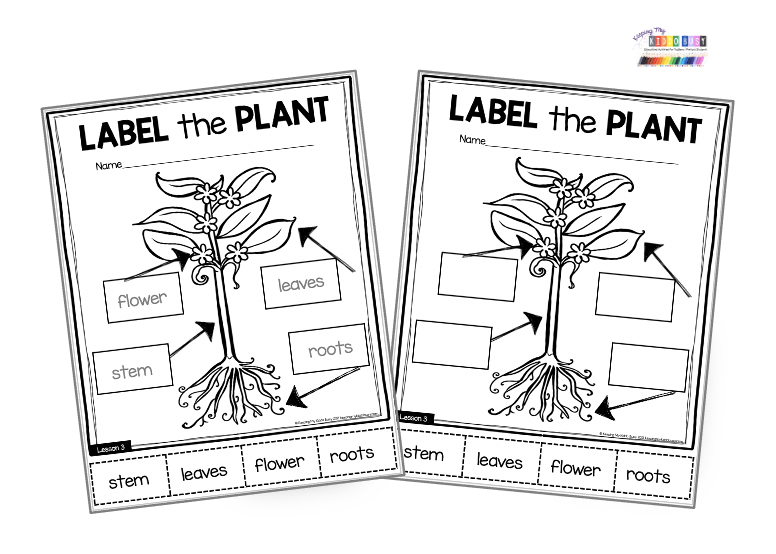
For some students I have them match the words already written.
To challenge my higher children, they can do they ones where they paste the labels on their own.
You can also have students do both!
You can do the other activity pages during this lesson, but I usually save the others as review for later in the unit. There are multiple ways for students to practice labeling the parts of the plant.
Lesson #4 Parts of a plant continued…
We follow up yesterday’s lesson with this adorable label the parts of a plant mini book.

I read the page to them and we discuss the information. Then I have them whisper and share the information with their neighbor.
They know if they don’t have the answer, they better listen to their neighbor because I can call on anyone I want.
Engagement tip: I don’t ever say, “Raise your hand f you know the answer.” This gives children the opportunity to check out and not try. Instead, after we think, pair share… I can call on anyone to give the answer. This keeps everyone engaged.
After two lessons of labeling the plant, children know the basic parts!
Lesson #5 - What do plants need to grow?
This lesson is so fun, and I love to hear what children think before we start the lesson because their answers can be hilarious.
I show students these beautiful vocabulary posters and we discuss what plants need to grow.
Most students do not know that plants actually make their own food - so this aways comes up in this discussion.
You can print and hang these posters up, or just show them on a slideshow.

After we learn what plants need to grow, we are ready to make our flip books! These come in both color and black and white. These are perfect to check for their understanding and to “quiz them”.

Simply copy both pages for each student and they cut/paste the pictures under the correct flap. The students can quiz each other too!
Here is a quick video recap of what we learned in this lesson:
Lesson #6 Hands-On Experiment
This lesson is so much fun! I actually remember doing this experiment when I was in kindergarten and it has stuck with me.
Since we just learned about what plants need to grow, today we will be exploring what happens when plants do not receive what they need.

You’ll need six small plants (almost any kind of plant will work), these printable cards and activities (included in the unit) a gallon size ziplock bag, rubber band and petroleum jelly.
Your kiddos will be so engaged with this lesson! I show the students all six plants along with the picture label. You can tape the labels, use popsicle sticks or mini clothespins.
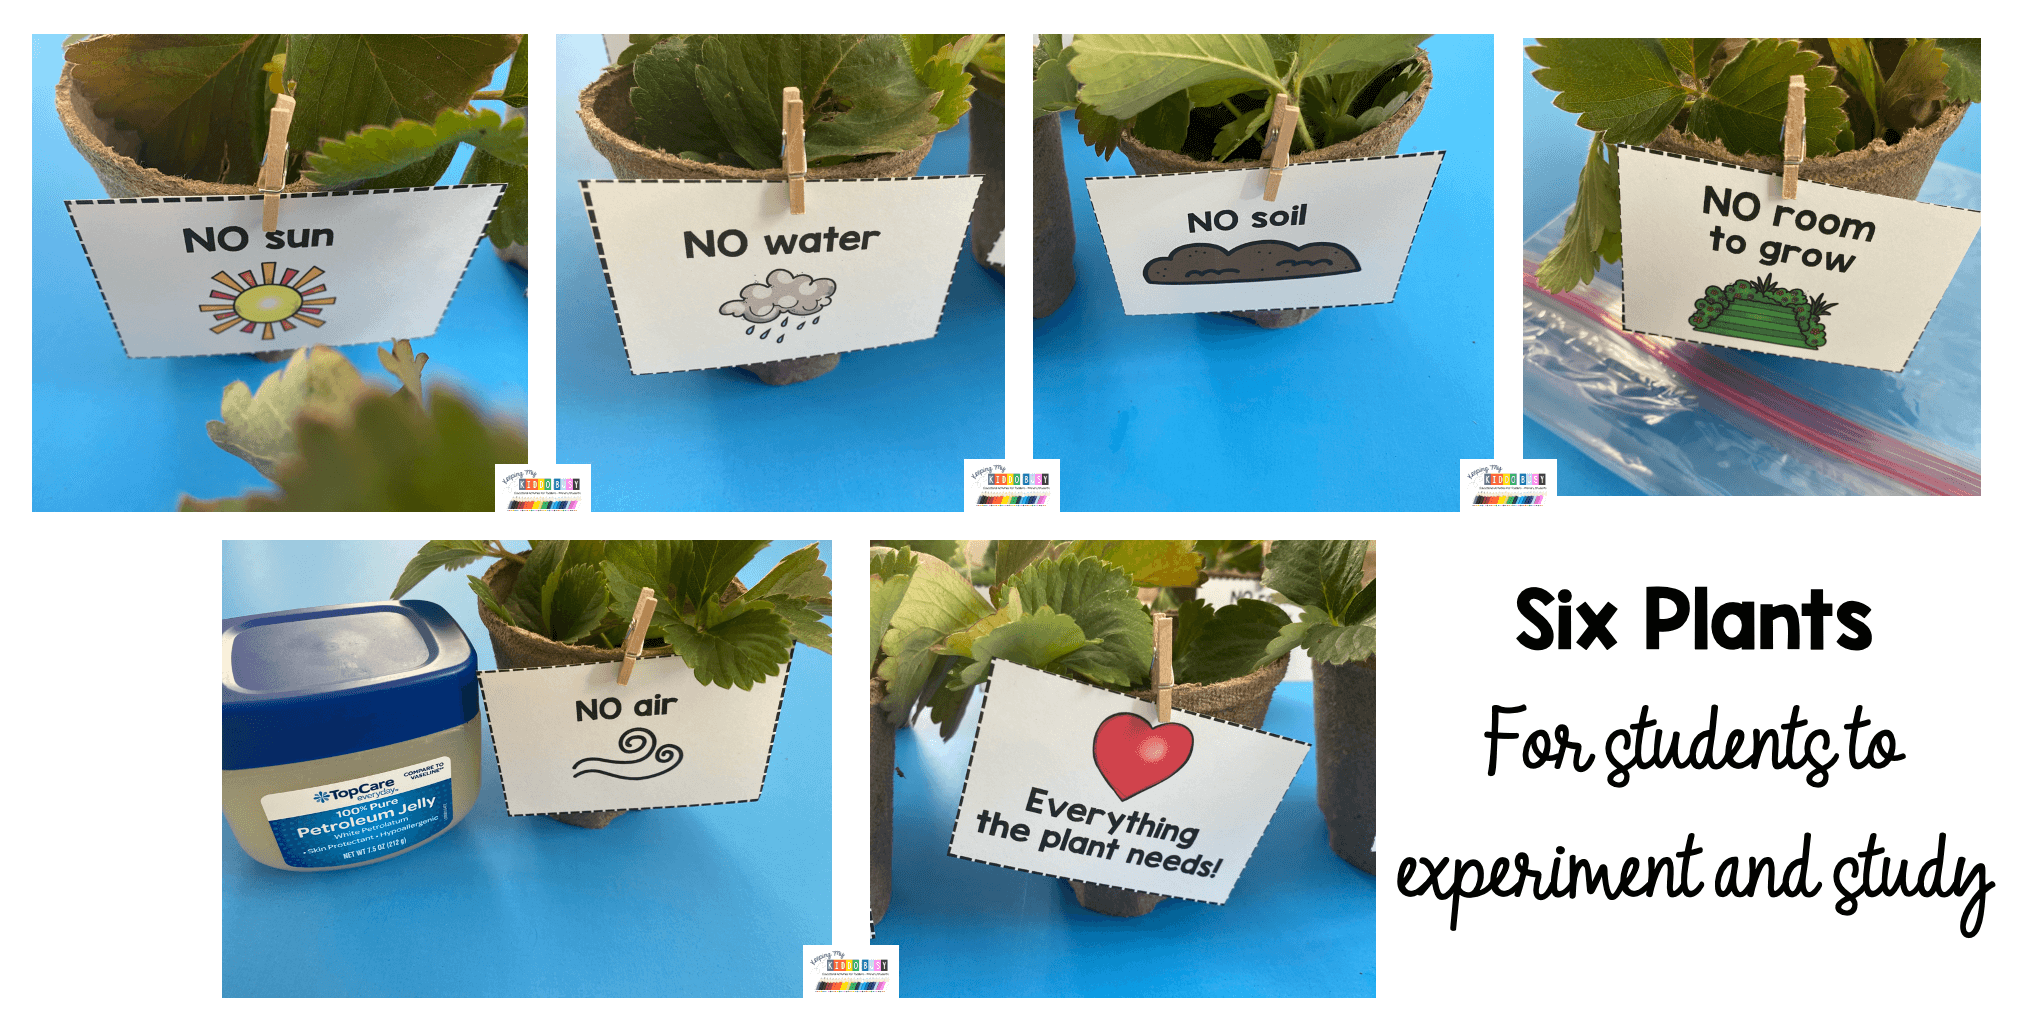
NO SUN: this plant will receive everything it needs except sun. You can place this plant in a closet or small space that does not get any sunlight.
NO WATER: this plant will receive everything it needs (place on a windowsill to receive adequate light) but you will not water it.
NO SOIL: this plant will receive everything it needs (place on a windowsill to receive adequate light) but you will dump all the soil out of the pot so its roots are bare.
NO ROOM TO GROW( two options): put multiple plants in the same small pot to show overcrowding, or take your single plant out of the pot and place it in a tiny container (mini Tupperware, small lid, etc.)
NO AIR: this plant will receive everything it needs (place on a windowsill to receive adequate light) but you smear petroleum jelly all over the plant and leaves so it cannot take in air.
The last plant will receive everything it needs!
Be sure to include the children in all of this set up and discussion. Their eyes will be glued to you as you’re placing a plant in the closet, covering it in petroleum jelly, etc. This is such a neat way to show children that it is important to have everything you need to grow and thrive.

To get started, they write a hypothesis about what they think will happen to each plant.
Children then record their observations about each plant for seven days. They can draw a picture or write a couple words each day.
You can staple these into their botany books or leave them separate.
They can’t wait to check on their plants each day and to discuss the changes they see from the previous day.
Tip: the warmer it is your classroom/home, the quicker you’ll see the effects of no way, water, light, etc.
Continue to make the observations each day when you start science time (or you can do it first thing in the morning or whenever works best for you.)
Lesson #7 - Plant lifecycle
Now that we know what it means to be alive, what botany is and how all living things depend on plants, the parts of a plant and what plants need, today we are learning about the lifecycle of a plant!

This simple slideshow is an easy way to introduce the steps and the vocabulary for children.
This video also has so much information.
It goes even more in depth with vocabulary than I cover, but it is perfect to help kids understand how a seed turns into a full grown plant.
She talks quickly in the video, so be prepared to pause and reflect with the kids. It is also helpful to show kids the video at the start of the lesson, then teach your lesson and then come back and watch it again to review.

I display the anchor chart to review the vocabulary, and students can trace the vocabulary words in the botany books and color the pictures.
We also practice putting the steps in order with these adorable pocket chart cards.
Lesson #8 Plant lifecycle continued…
There is a lot to learn about the plant lifecycle, so we spread it over two days. Start by reviewing the main vocabulary words we learned yesterday, and mix up the pocket charts for children to fix and put back in order.
This is a really neat time lapsed video you can show the kids about a plan growing.
Now we make our flip charts. These turn out so cute and it is a great visual for them to see the steps a plant goes through when growing.

This is also a really good check for understanding to see if the children understand each step and vocabulary name. It comes in both color and black and white.
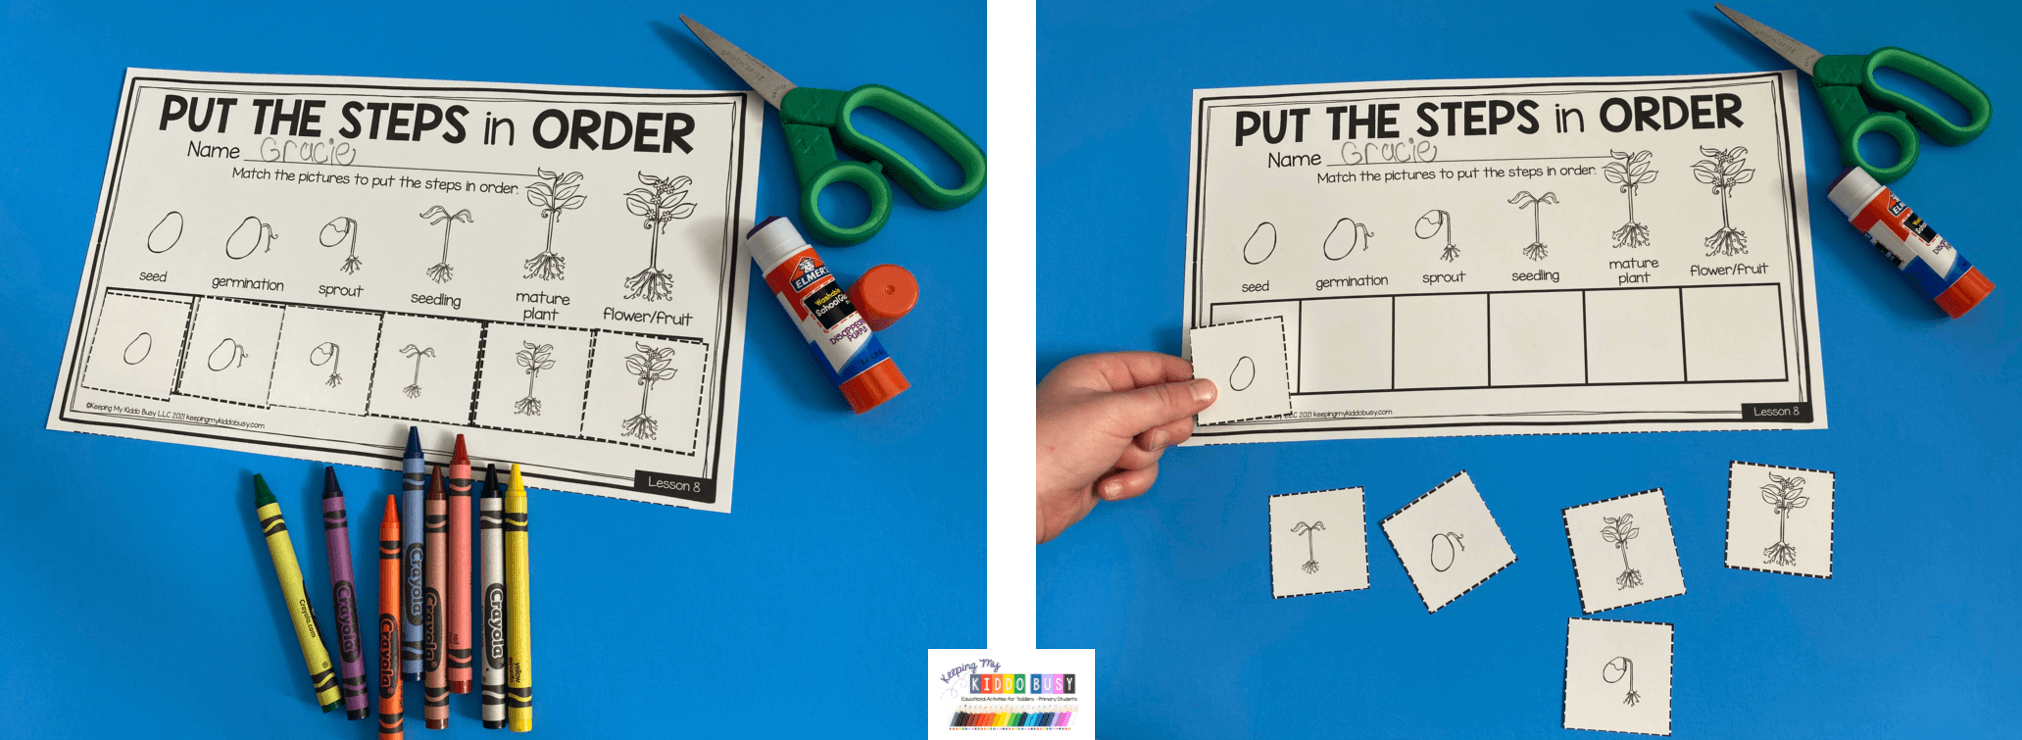
Finally, we put the steps in order but cutting and pasting to match the pictures. These turn out so cute! I have students practicing telling a neighbor all the steps so they are saying each vocabulary word out loud.
Lesson #9 - Plants make their own food!
This is a neat lesson to teach, because so many students do not understand where plants get their food and how they “eat”. We do not go too in depth, but I want my students to understand that plants make their own food using a process called photosynthesis.
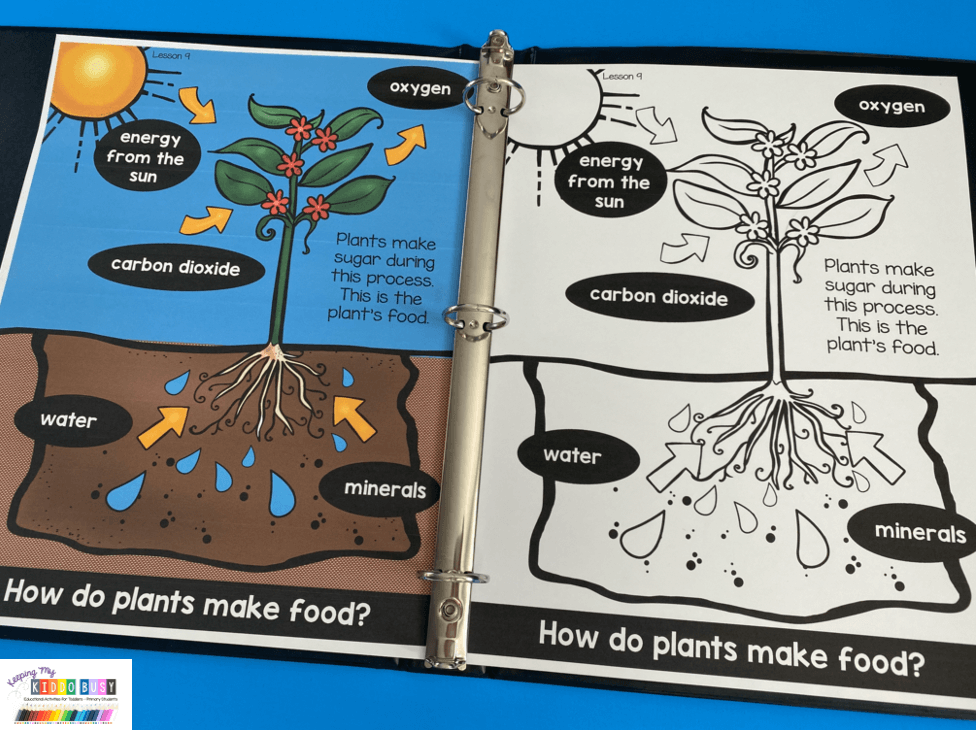
This chart comes in both color and black and white so you can add one to their botany book if you prefer. I have them color the arrows so they can see how all the steps and parts are related.
I briefly explain how carbon dioxide is what comes out of our mouths and nose when we breath, and we “trade” with plants. The plants take in the carbon dioxide and “breath out” the oxygen.
They make a special sugar in their leaves and that is what the plant “eats” for energy.
From doing the hands-on experiment earlier in the unit, they can now see what happens if a plant doesn’t get the sunlight, soil, water and air it needs to make food. It is fun to watch students make sense of all of this!
Need a quick wiggle brain break? Here is a cute song and video about photosynthesis.

To check for understanding, we then fill out lesson 9 in their botany book.
All of the vocabulary words are on the chart above, so they can refer to that when filling out the activity or you can do it whole group so they know how to spell each word.
They usually know the answer but they may ask you how to spell it.
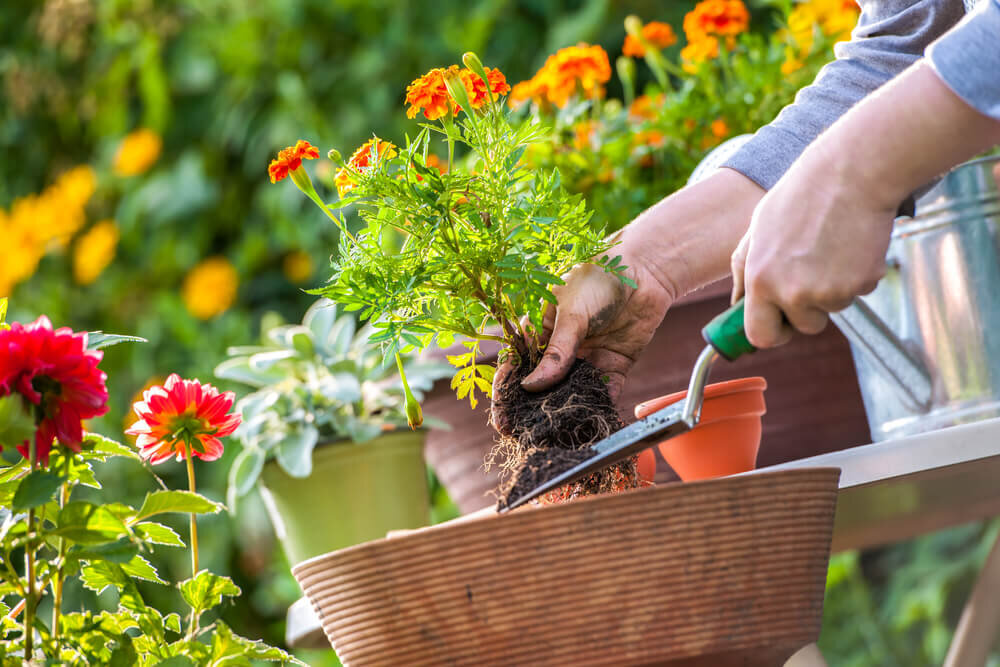
Lesson #10 - Let’s plant!
We have learned so much about plants in the past two weeks, so the kids can’t wait to plant their own seed and watch it grow!

How cute are these little tags? I print and cut them out. You can write their names or they can.
If you’re doing this unit in the spring, you can time it so the plants can actually be used as a Mother’s Day gift. If that is the case, you’ll want to plant a fast growing flower.
If you are not using the plants as a gift, I suggest planting beans as they grow super quick which is fun for students to see.

These beans will sprout quickly so students are excited to measure and observe the changes each day - or every other day if you prefer.
Read the reviews on Amazon! Other teachers have used these beans with a lot of success. I suggest planting two beans in each child’s pot in case one doesn’t grow.
You can grab these seeds HERE
Here are the adorable Observing My Plant recording pages. You can print more copies of the second page if you want them to make observations for more than just five days.
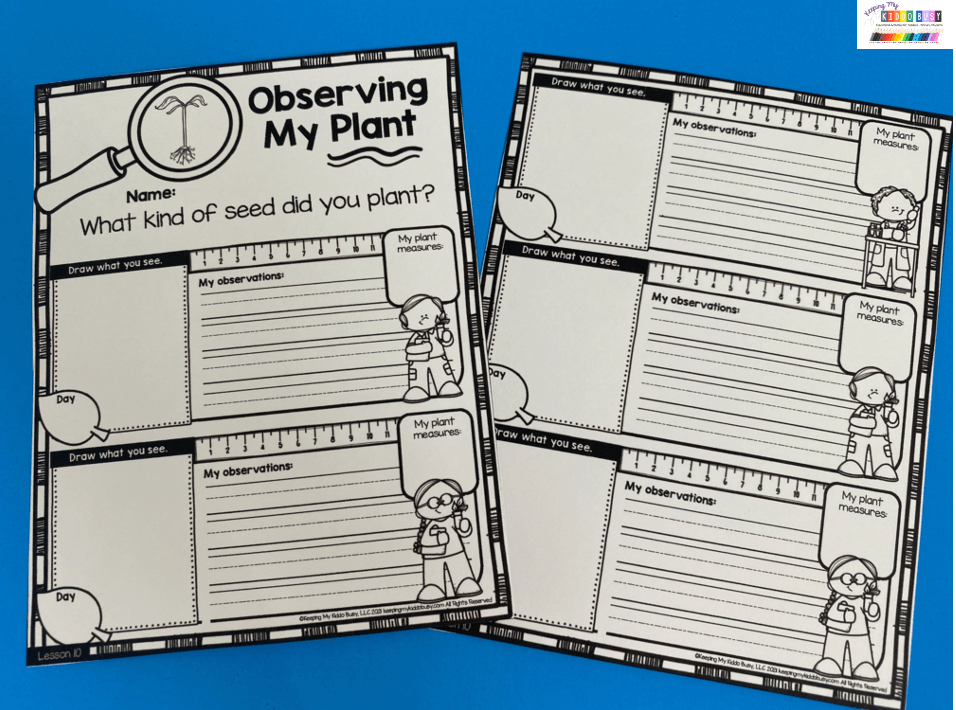

Children write the day, draw a quick picture, measure (I help them with this - but we have done my measurement and data math unit already so they do know how to measure!) and then write at least one observation.
It is s fun to watch their excitement and progression. This is why fast growing plants are important. I also plant a couple extra pots in case something happens to one of my students’ plants, I can switch it out and they won’t be upset.
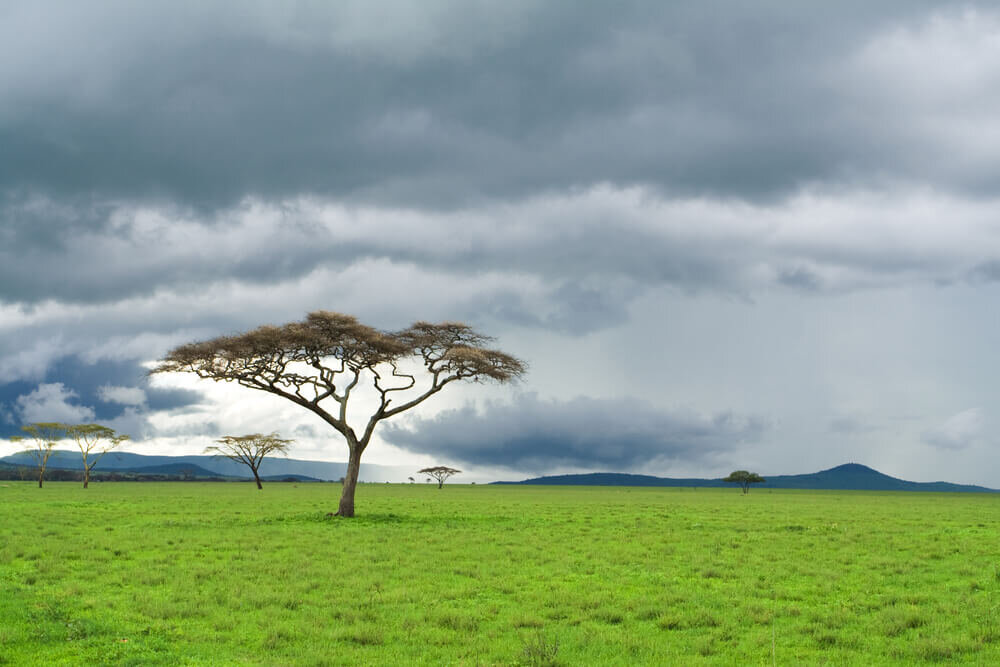
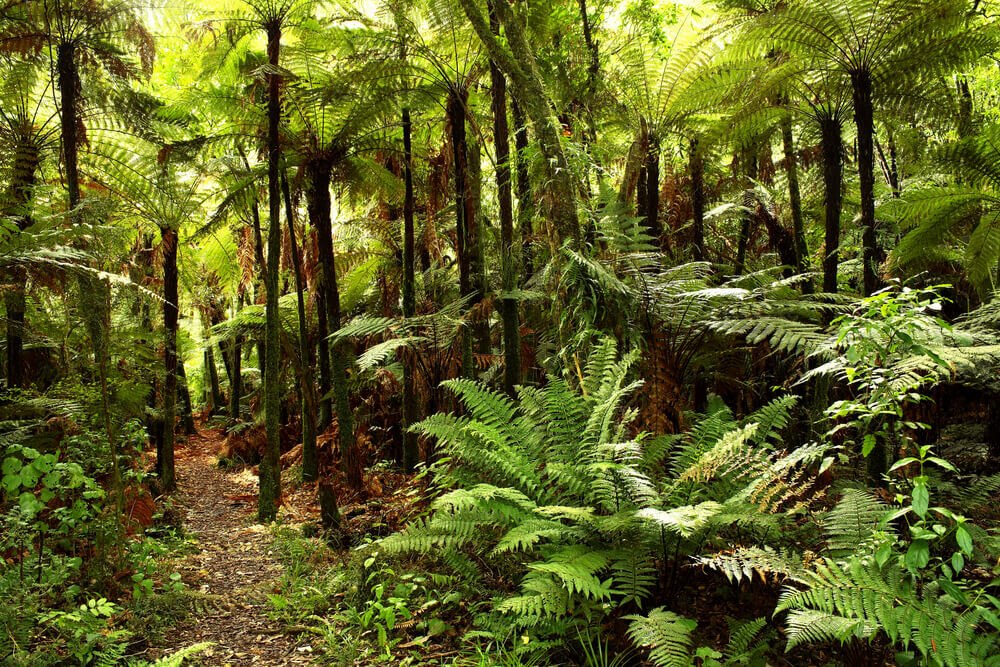
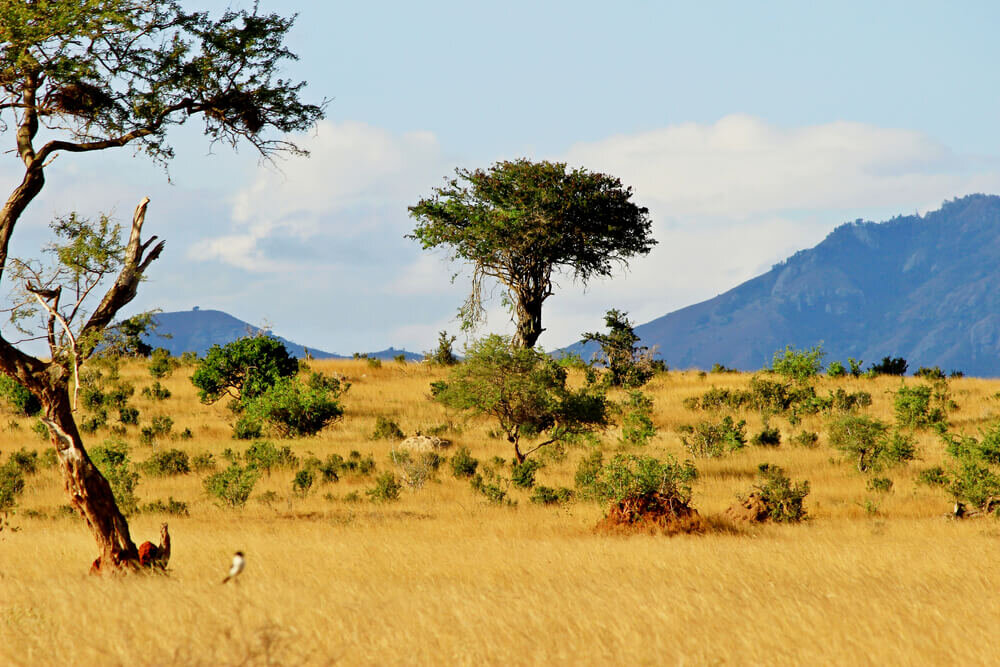
Lesson #11 - Plants around the world.
So many students do not have the opportunity to travel and have never been far from home.
I want them to know that different plants grow in different climates around the world. Once I show them photos, they always make connections to picture books and movies they have seen.
I put this slideshow together for you to show your students.


Please note that this slideshow is not available in the downloadable unit, but can always be viewed right here on this blog post for free.
After viewing all the pictures (I usually have it rotate through twice) we discuss how plants looks different and why different plants may grow in different places.

This book is absolutely gorgeous and it is filled with so many beautiful, real-life photos and interesting facts about plants.
My children love looking through all the pages and learning new information about so many different kinds of plants.
You can purchase it HERE
The video below does a little flip through so you can see what the inside of the encyclopedia looks like.
In our botany book, students read the sentences and complete the sentence.

Here is a cute activity in their botany book to simply practice vocabulary, sight words, reading and learning about plants around the world.

Then we reflect and fill out this graphic organizer with sentence starters. There could be so many different “right” answers for this, but it a great way for students to share knowledge they have learned. Then I have them share their papers with their neighbor or table group so they get to “be the teacher”.
Lesson #12 - Unit review

These lessons have been jammed packed with activities and ideas, so if you take longer than twelve days that is perfectly fine.
Today, we are ending our unit with talking about why we need plants, how they help us and students can share one of their favorite plants. You can also finish up any extra activities you did not get to.
Personally, I love having most of their activities in their Botany Books. It is a great way to keep track of what they have learned and I don’t have to find the papers each day.

There are two versions of Plants Give Us activity - one where they trace the words and one where the find the word from the word bank and write it on the line.
Use one or both depending on the scaffolding your children need.
This has been such a fun, standards based and engaging unit. It can be used any time of year to bring science lessons to life in your classroom, via distance learning or for homeschooling.

Everything is planned and prepped for you! Lessons are laid out so the activities are sequential and easy to implement. Teaching science does not have to be complicated or overwhelming.
In fact, I find that it is so easy to keep students engaged because they are naturally interested and excited to learn about science and the world around them.

Ready to get started with Primary Science Unit 3?
“I love Keeping my Kinders busy units. They are complete with whole class engaging learning tasks and students activities. Very comprehensive. Thank you so much!”
“Love this unit! Exactly what I've been looking for!”
“I have a science degree myself and was impressed with the content. Interesting to my inquisitive son.”
Not sure yet? Try a lesson for FREE CLICK HERE

In this FREE download, you’ll receive activities for labeling parts of a plant!
MATCHING SCIENCE BOOM CARDS
Learn even more with these adorable coordinating Boom Cards all about plants!
We absolutely love learning about science!
